
DHCP is short for Dynamic Host Configuration Protocol. The Basic is it gives devices the configuration that requires it to speak to one another or how to handle certain services.
To start configuration on DHCP we first need the services installed. Below is a step by step on how to Install on Server 2019.
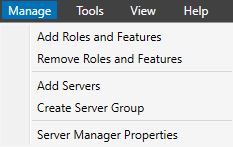
Add Roles and Features
On the Server Manager choose Add Roles and Features
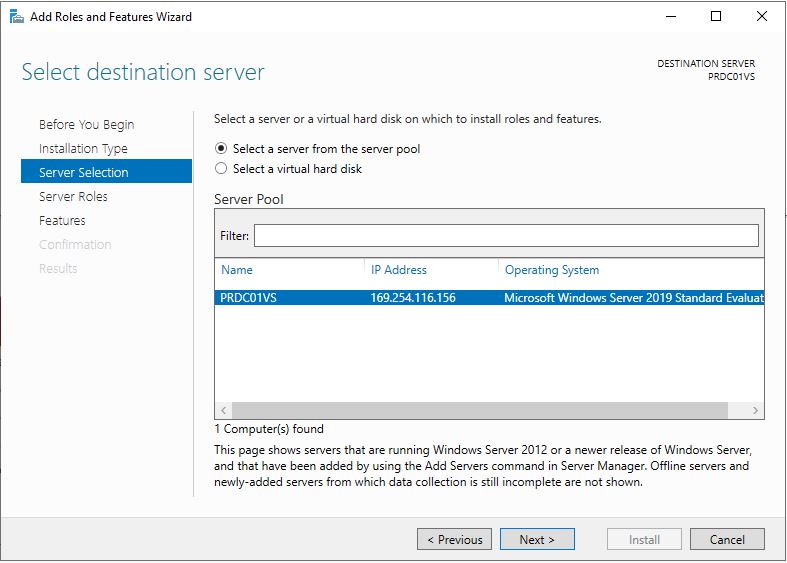
On the first two screens, you can click Next until you get to the Select Destination Server. Make sure you selected the correct server and that an IP address is assigned. As per below an IP still needs to be assigned. It won’t stop you from installing.
On the next screen choose DHCP it will pop a feature that is required for this, click Add Feature and Next.

The Features required is already selected click next

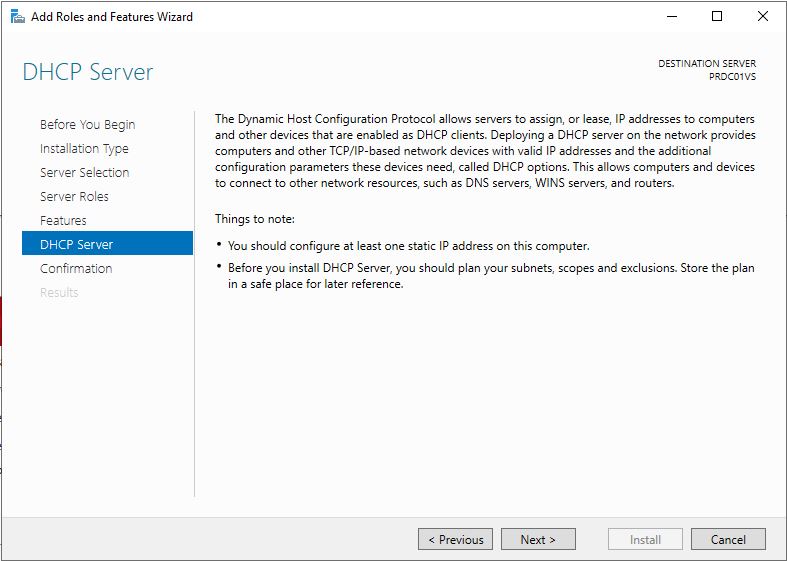
Take note of the Warnings. A Static IP is required and you should know your Server Subnet, Scopes and Exclusions before configuring DHCP.
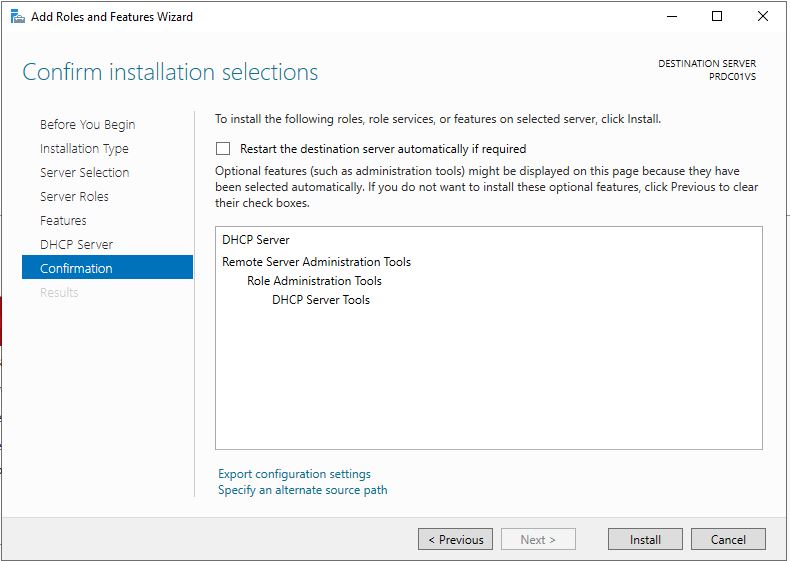
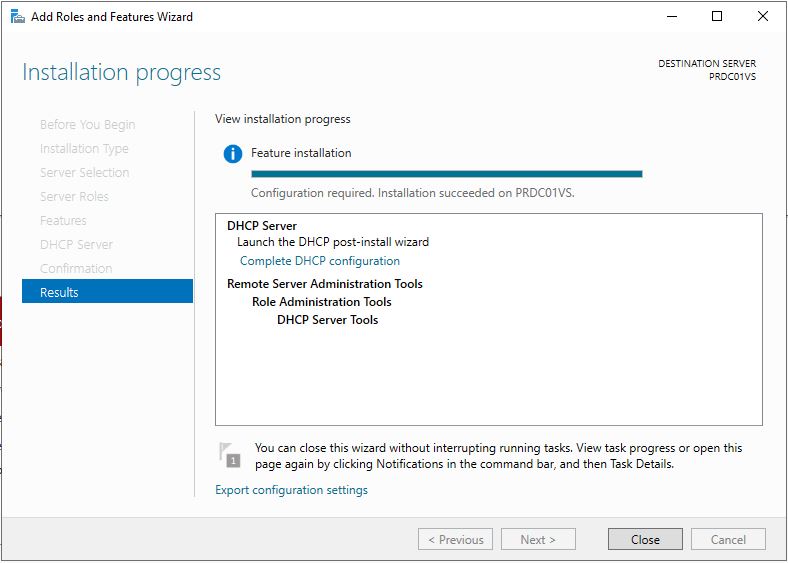
On the confirmation screen click Install and Wait for the install to complete.
Once Done you can close and move onto the Post Configuration.
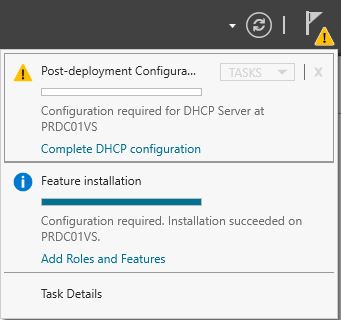
Post Configuration
On Server Manager go to Flag with the Yellow Exclamation and choose Complete DHCP Configuration
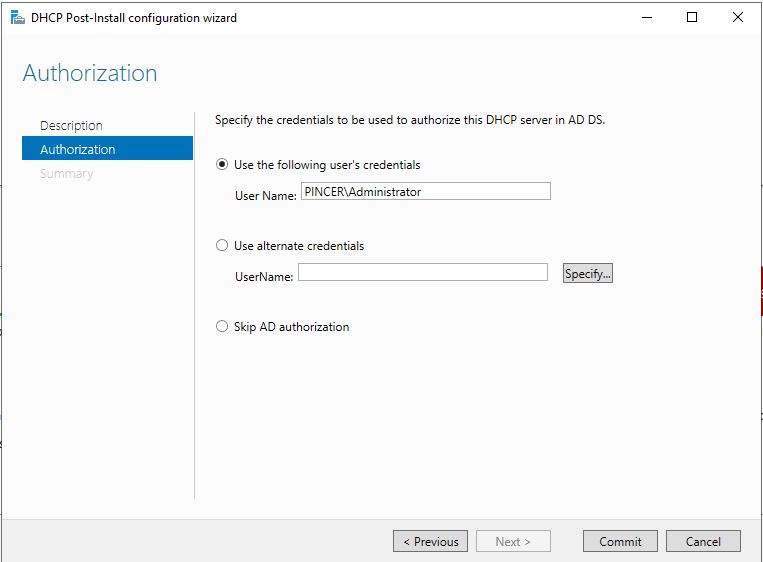
It is best to do this as a Domain Admin. This will create the necessary groups and Authorize the DHCP Server.

On Authorization screen, if you are logged on with Admin you can leave as is. Otherwise, choose Alternate Credentials and fill in the Admin Details.
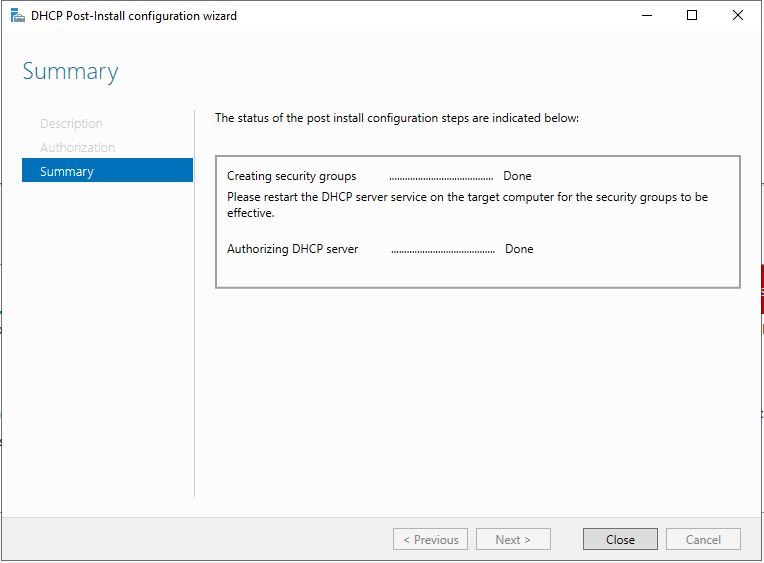
Click Commit and you should get a Confirmation screen advising everything is done.
Next, we need to Setup a Basic DHCP Configuration.