I recently found a piece of software that I am exploring to help me manage our current IT environment. To install this I require two applications setup. A PHP web server and a MySQL database.
Following below is an example of how to:
Install IIS with PHP on a Windows 2019 Server.
Install IIS
Once the server is installed browse to server manager and choose
“Add Roles and Features”:

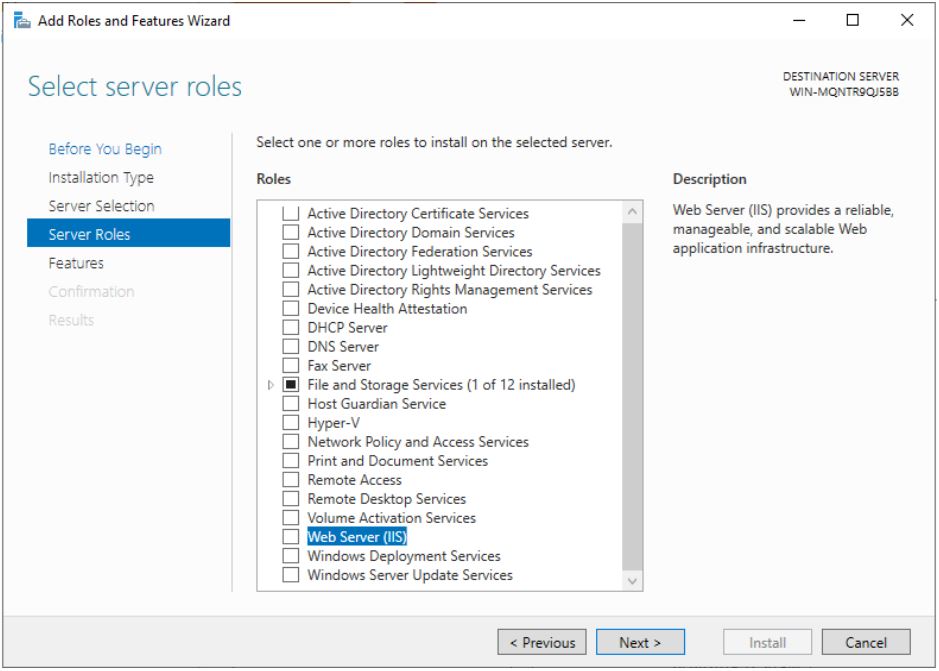
Click next until you get the “Server Roles” and choose the option
“Web Server (IIS)”.
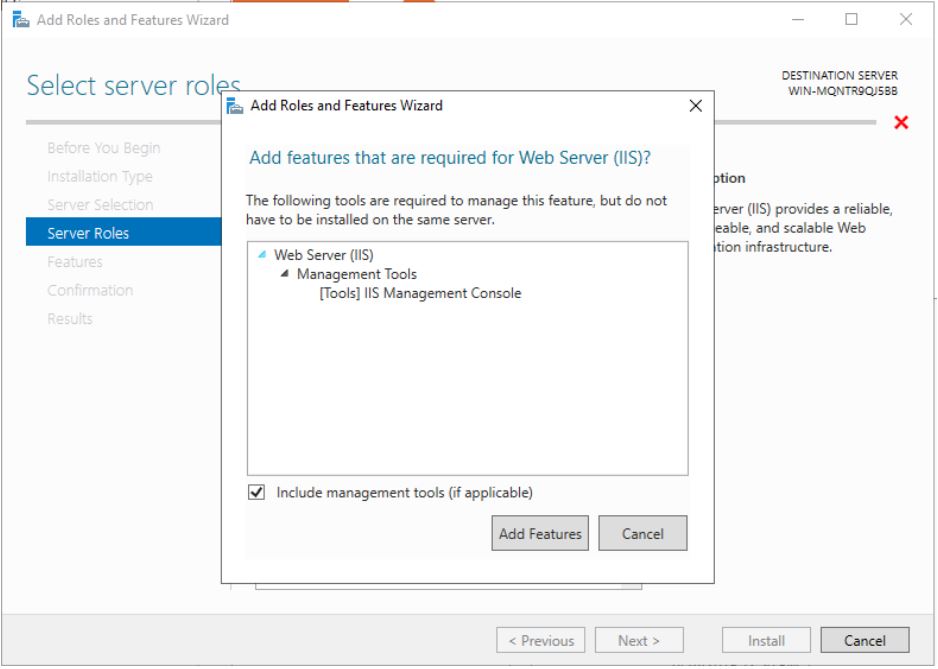
An Option will appear to include Management tools click “Add Features”.
Add Features
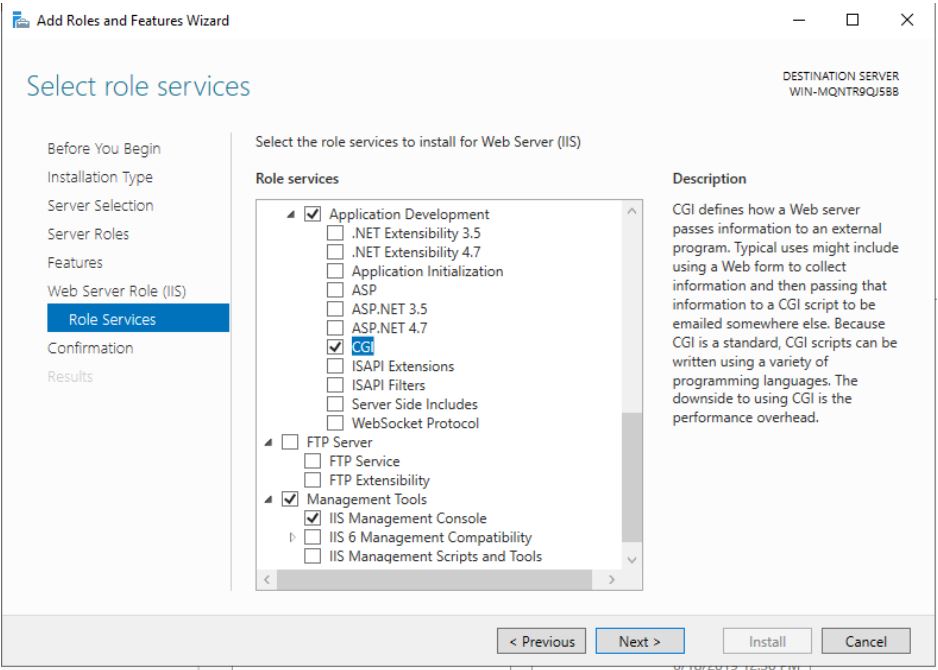
Continue to click next until you get to “Role Services” Browse to “Application Development” Expand it then add the option for “CGI”.
If you are interested in creating a Company Directory from your Domain controller you can choose ASP as well.
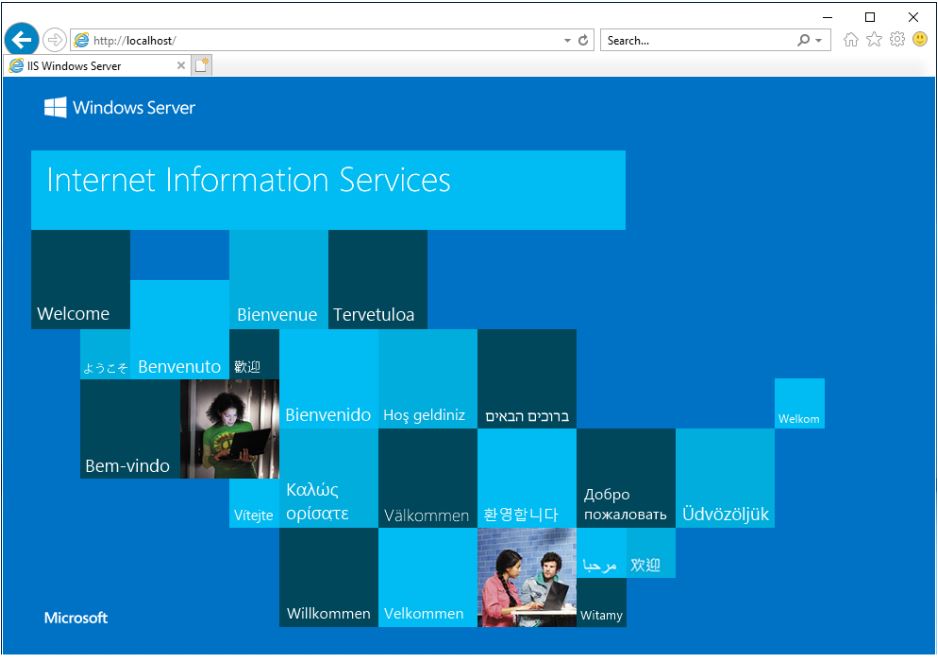
Click next and install and wait for is to complete. To test it open the web browser on the machine you installed it on and browse to http://localhost/
If you get an Internet Information Services page the installation was successful.
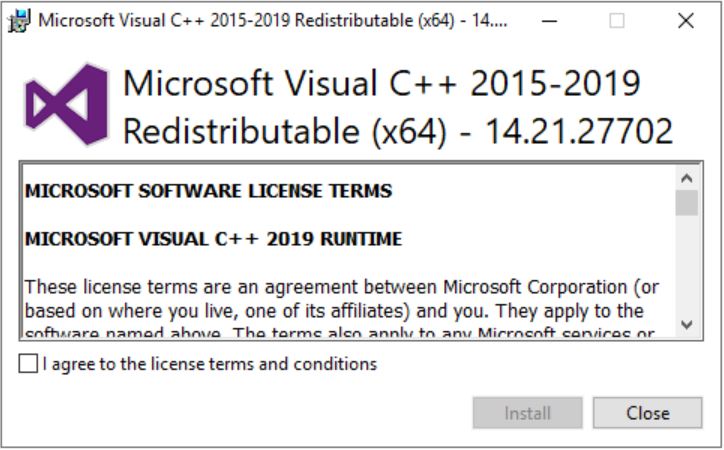
Install Microsoft Visual C++
Before actually installing PHP you install Visual C++. It is quick and easily opens the EXE click Agree and Install.
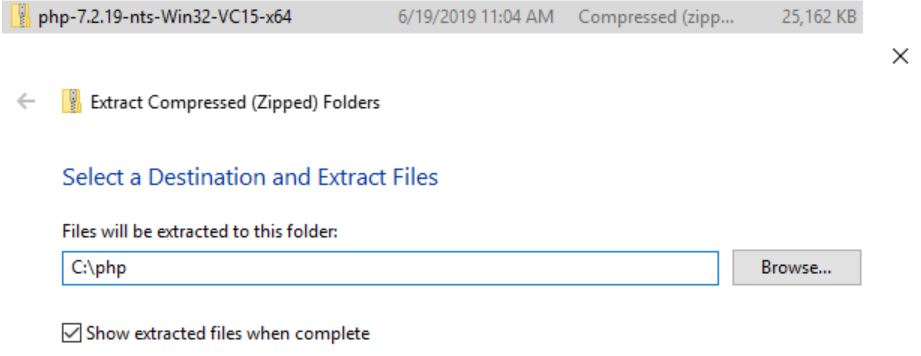
Install PHP
To install PHP you extract the zip file you downloaded to a directory of your choosing. I suggest creating a directory in one of the Program Files directory’s so not to delete it by accident if you clean your root directory’s one day. For this, I extracted it to the C:\ root as this is just a demo Server.
Once extracted browse to the folder and rename the file php.ini-production to read only php.ini.
Edit the newly named file and amend the following Lines.
Remember to make sure the directory location corresponds to where you extracted the files.
| Old Value | New Value |
| ;cgi.force_redirect = 1 | cgi.force_redirect = 0 |
| ;fastcgi.impersonate = 1 | fastcgi.impersonate = 1 |
| ;extension_dir = “./” | extension_dir = “C:\php\ext” |
Configure PHP in IIS
The last steps is to tell IIS where to find PHP and how to use it.
Open IIS browse to the server and choose Handler Mappings.
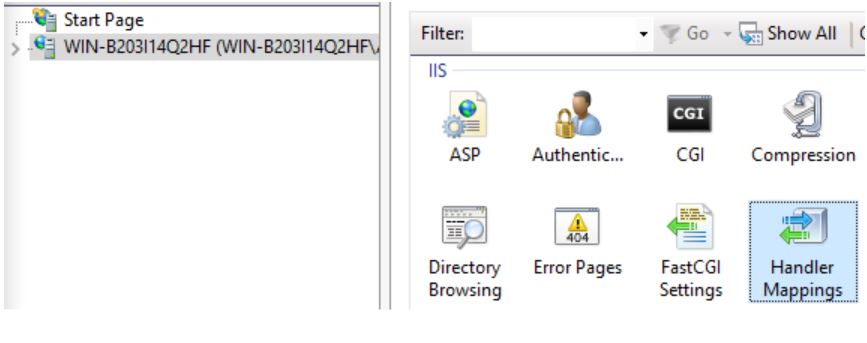
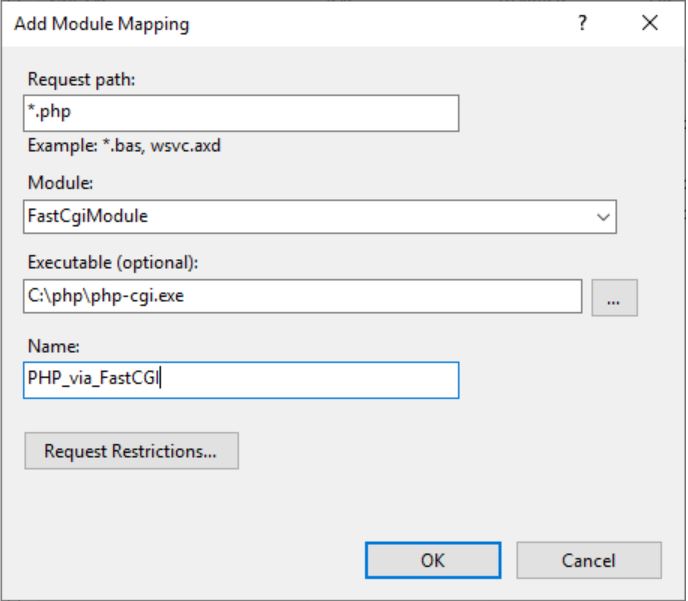
Add Module Mapping and fill in the Mapping as per the below screenshot.
Click ok to save then browse back to the IIS Server page.
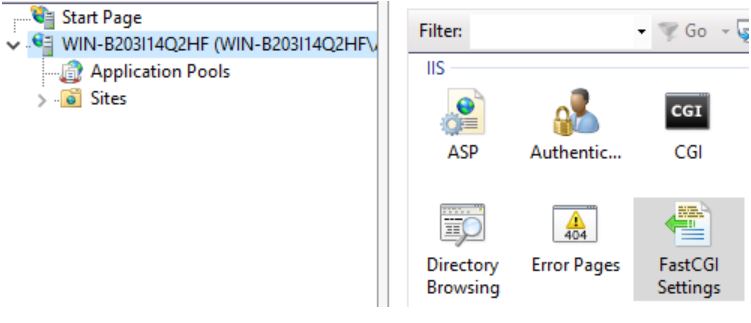
Choose FastCGI Settings.
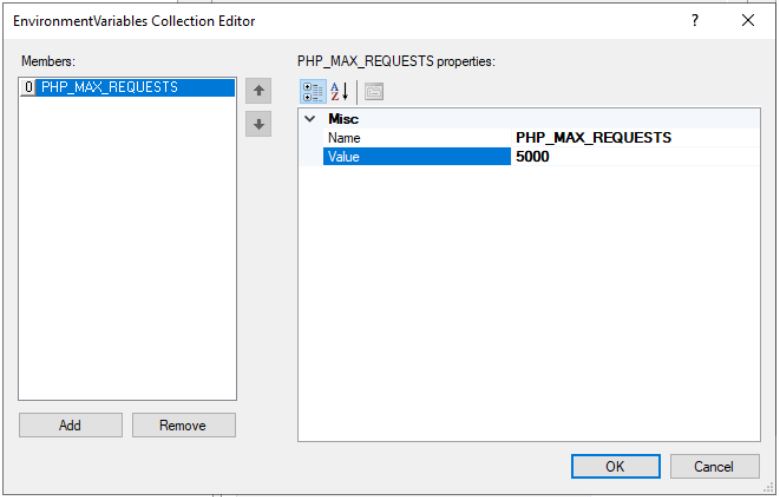
Click Collection then add. Fill in the following details:
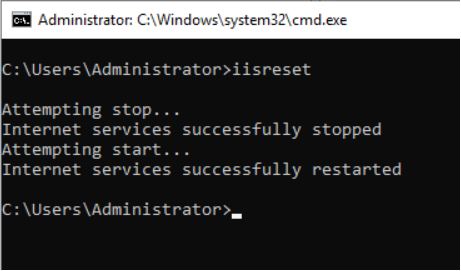
Restart IIS by opening Command Prompt in administrator mode
Type iisreset and Enter.
Test PHP
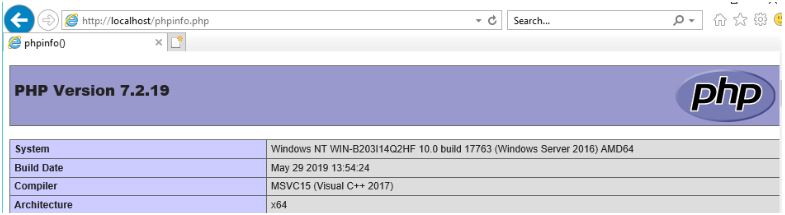
To test PHP browse to the IIS root directory and create a new file called phpinfo.php.

In the new file type the following code Exactly :

Browse to http://localhost/phpinfo.php if you get a screen as per the below you successfully installed PHP.